Building Cool? Amplifiers with Unusual Things (Chapter 2)
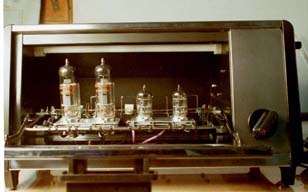
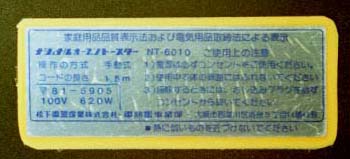
Ladies and gentlemen, I got him! He was at my wife's parent's home. As you see in the picture below, he had miserable appearance. But he was still active! A thorough investigation revealed that he was born in 1976! This means he reigned over my wife's parent's home for twenty-seven years! Luckily, there was another oven toaster that looked much younger though he couldn't work due to his missing AC plug. So I fixed him and appointed him as a substitute. In turn I got this old man. Now he is going to start his beautiful second life.
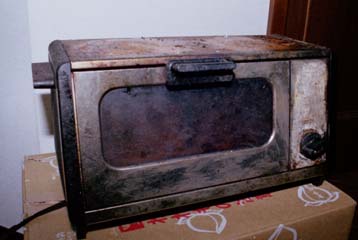
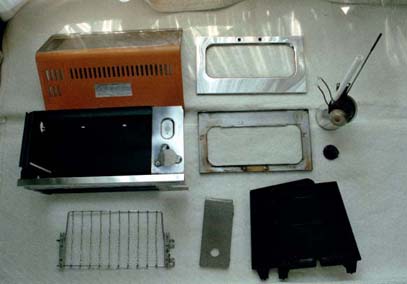
First of all, I had to remove stains that were oily and burned and stuck all over him. For the oily stains I used a kitchen cleaner and for the burned and stuck ones I used sand papers and a cutter blade to scrape off. He was so dirty that a newspaper spread under him got dark brown with his stain in an instant.
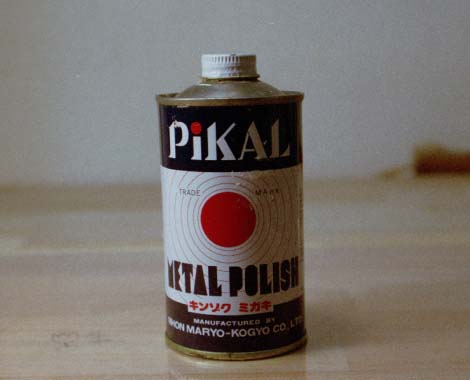
Then I polished him especially stainless steel part with "PIKAL", Japanese popular metal polish. I spent a lot for polish to get a mirror like surface finish but it wasn't enough. I had to use buffing to get such surface finish but I had no equipment for it. So I gave up. After polishing, top cover and inside the oven were painted black with 198yen lacquer.
(1) Schematics
Since the oven toaster amplifier in PART II was a virtual stuff, I could use any luxurious parts I want such as Matsushita's 6CA7(EL34) and very expensive TANGO's transformers. However, in a real world I couldn't afford them. (Sigh) Fortunately, I had 6BM8, 6AK5 tubes, power transformers used for "Kha-Tar #1", 6BM8 STC (Super Triode Connection) amplifier. So I decided to use the same schematics as "Kha-Tar #1".
(2) Cool appearance
The most important part of this "way-out" amplifier is the appearance. It should look cool yet with a little touch of witty mind. The followings are design plan.
a) All functions except toasting by the heater should be kept as much as possible.
b) It is able to open the door while in operation
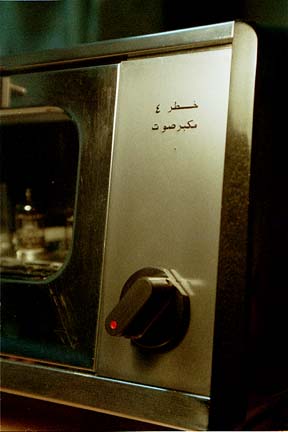
c) The knob for timer switch is converted to the power switch and the volume
d) And when turning the power off, it rings bell.
e) Instead of the heater, this part works as a light up
f) Reuse whatever I have as much as possible
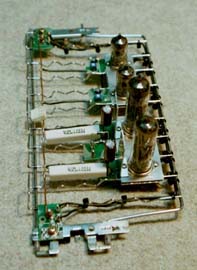
(1) Around the tubes
All tubes were arranged on the grill. Since the grill net has a saw tooth shape, I first made it flat by a pair of pliers. Then it was sandwiched by two aluminum plates. Tube sockets were fit on these aluminum plates. Other parts such as resistors and capacitors were also arranged on the grill. It was compared to a printed circuit board.
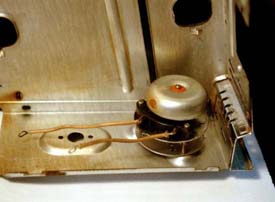
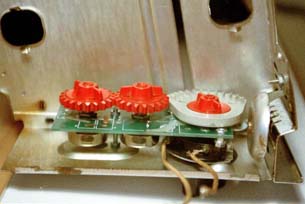
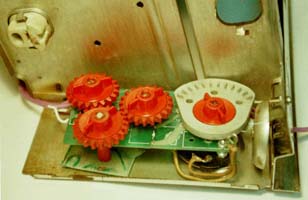
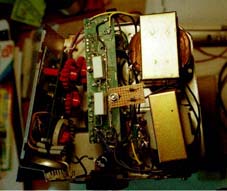
(2) Volume and Power Switch
This was the most challenging work in this project. As you see in the picture below left, the original switch and timer consist "knob- > shaft -> timer parts -> power switch -> bell". It was difficult to extend the shaft for volume because the bell blocked axial direction. Moreover, there was not enough space behind the bell because of power supply circuit. So I decided to arrange the volume shaft parallel to the switch shaft. The volume was driven by a set of gears (spur gear, intermittent? gear) so that first part of the rotation worked only for power switch and the rest part of the rotation worked only for the volume. To realize this, I had to change the construction of the switch and timer as "knob -> shaft -> switch and bell hammer -> intermittent gear". At first I removed timer and modified shaft shape with a file. Volume and the gears were attached to the gearbox made of junk printed circuit board. Due to a budget limitation, I used toy gear for "Fishertechnik", sort of German "LEGO", I used to play with in my childhood. The last problem was how I should arrange the bell to fulfill the design plan d) as I mentioned above. I cut off half of the bell and attached to the chassis like the picture. Coming up to here, I found that I made a big mistake. The direction of each volume rotation was opposite that caused uneven volume level. So I added another spur gear so that both gears rotate same direction.
(3) Light Up
In the first plan, I was going to reuse white grass tube that protects nickel chrome heater and light blue LED inside the white tube. But it was too dark to light up inside the oven. So I removed the white tube and instead, I used acrylic bar and attached blue LEDs to the both end. Though the oven toaster has two heaters, above and below the grill, I used only lower ones for blue light up to keep balance with orange tube heater.
(4) Power supply and output transformers
All power supply circuit (power transformer, heater transformer, capacitors, etc) was arranged behind the power switch and the volume. Four output transformers (two for each channel) were put behind the grill.
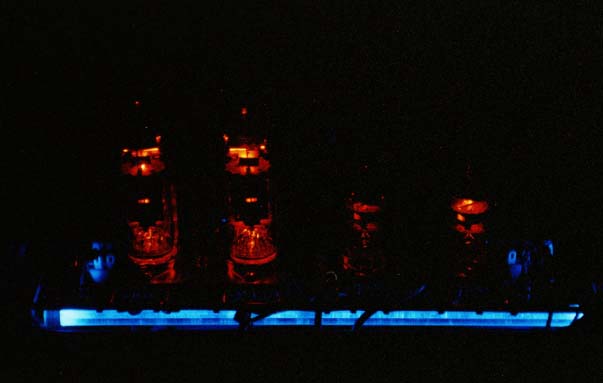
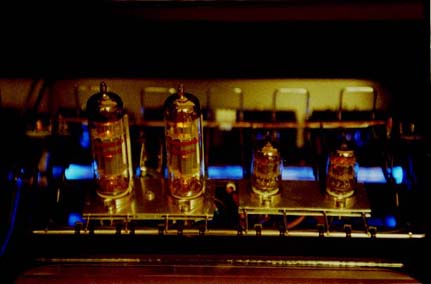
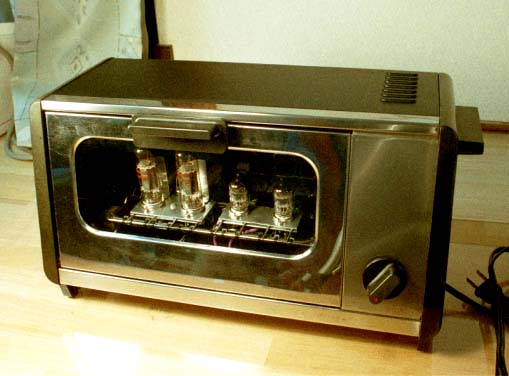
How does he look?
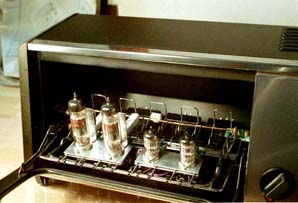
Can open the door in operation
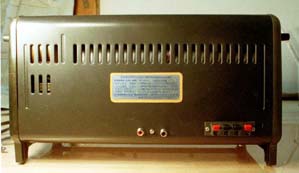
His Back
Arabic name
How does he sound?
The first impression was very cheerful as if he enjoyed his new life.
I found a nice stuff at a 100 yen shop. It's a trash catcher for the kitchen sink. They have three sizes.
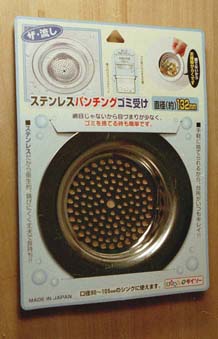
They can be used as a cool tube socket plate like this. In this picture a UV socket is attached.

WARNING!! Tube circuits contain high voltages and are dangerous to work on! Do not attempt to build any of these designs if you are not qualified. The author is not responsible for personal injury or property damage caused by use of the information on these pages.
home